Prefix
Prefixes play a fundamental role in the logic of the IGEM system for the correct identification of ref:Term.
Prefixes are assigned as input structure columns by Connector. Necessary due to identification only by the code of terms mapped to Term and that however conflict with other categories of Term.
For the correct identification of the Term, the system will add a prefix to the code located in the source Connector before MAPREDUCE processing.
Keeping without a record in none, it is important that the record is used during the IGEM ETL where additional cases from prefix to source code do not occur.
The Prefix data will be stored in the ge_prefixopc table of the IGEM DB defined in the initial parameters. The available fields are:
pre_value: prefix name
The inclusion of new data can be performed via the process db . On the command line:
$ python manage.py db --load_data "table='term, path='{your_path}/term.csv'"
Other commands and functions for manipulating master data can be found in the database management tab.
CAUTION: As GE.db is a correlational base with key integrity, all records linked to the deleted data will also be deleted, which includes Connector columns rules.
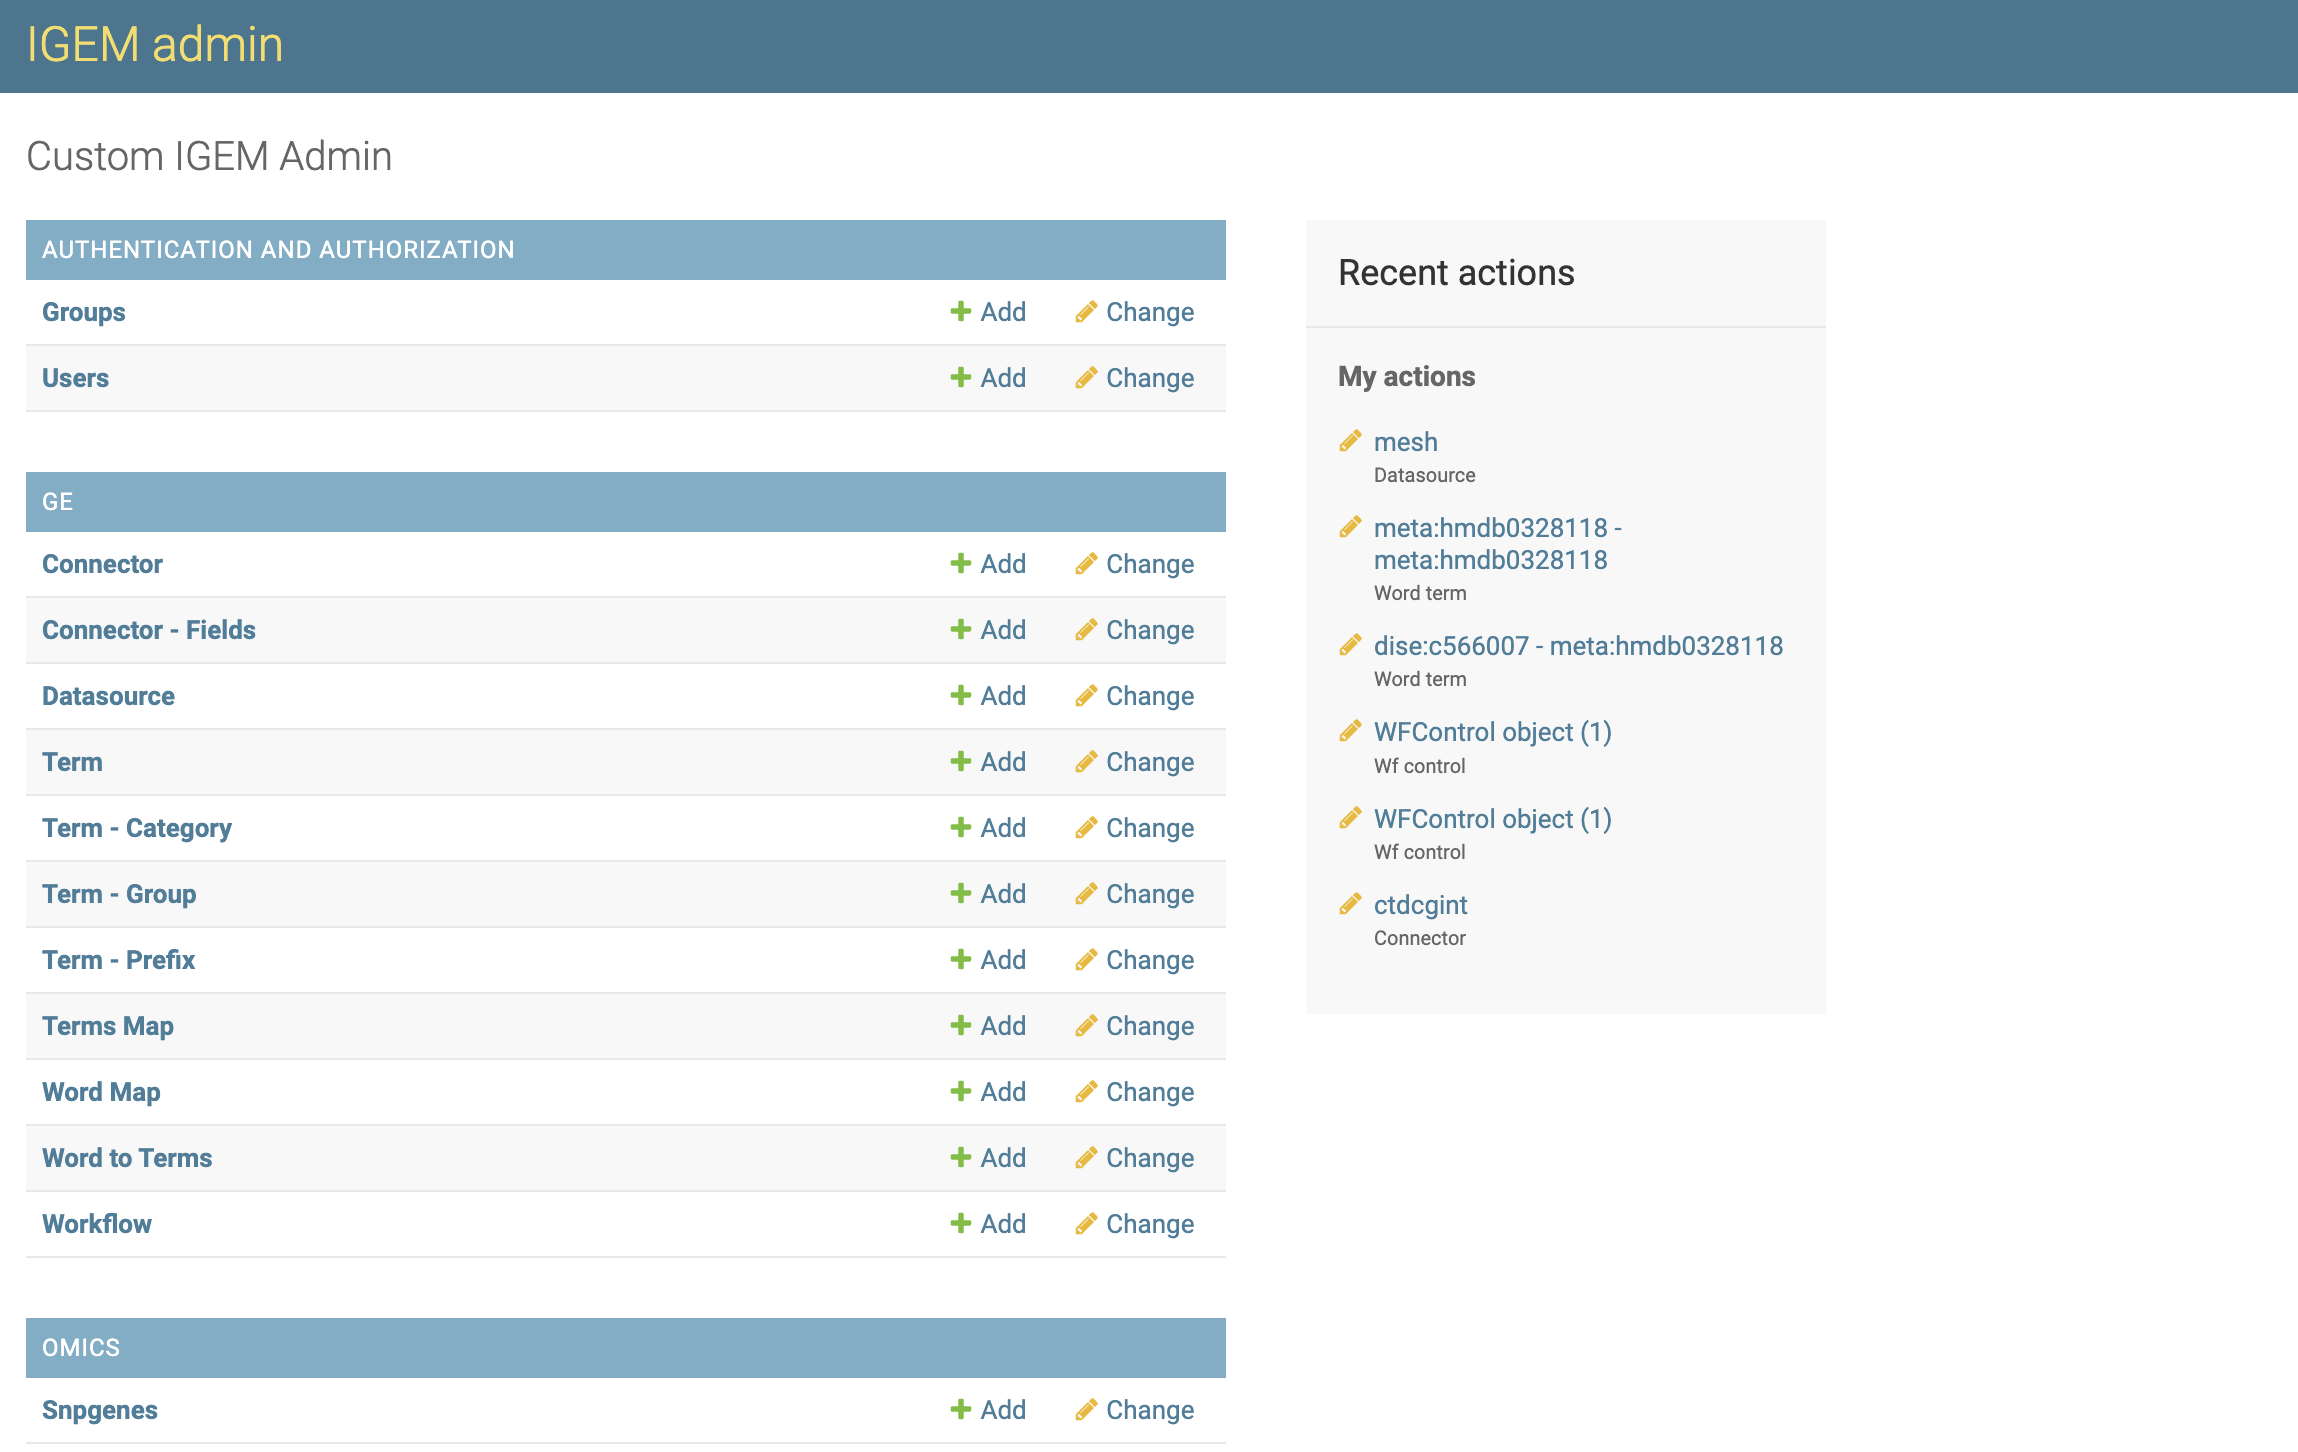
Web Interface
Through IGEM’s friendly web interface, it will be possible to carry out GROUP management activities.
Activate the IGEM web service if you have not already done so. Go to the IGEM folder and type the command line:
$ python manage.py runserver
>>> Watching for file changes with StatReloader
  Performing system checks...
  System check identified no issues (0 silenced).
  March 24, 2023 - 12:56:26
  Django version 4.1.5, using settings 'src.settings'
  Starting development server at http://127.0.0.1:8000/
  Quit the server with CONTROL-C.
If it returns a port error, you can specify a different port::
$ python manage.py runserver 8080
Access the address in the link provided in Starting development server. Significantly, this address may vary depending on the initial settings performed during installation.
After user authentication and on the initial administration screen, select an option Keyge-Prefix.
On the Prefix screen, we will have options to consult, modify, add and eliminate Prefix.
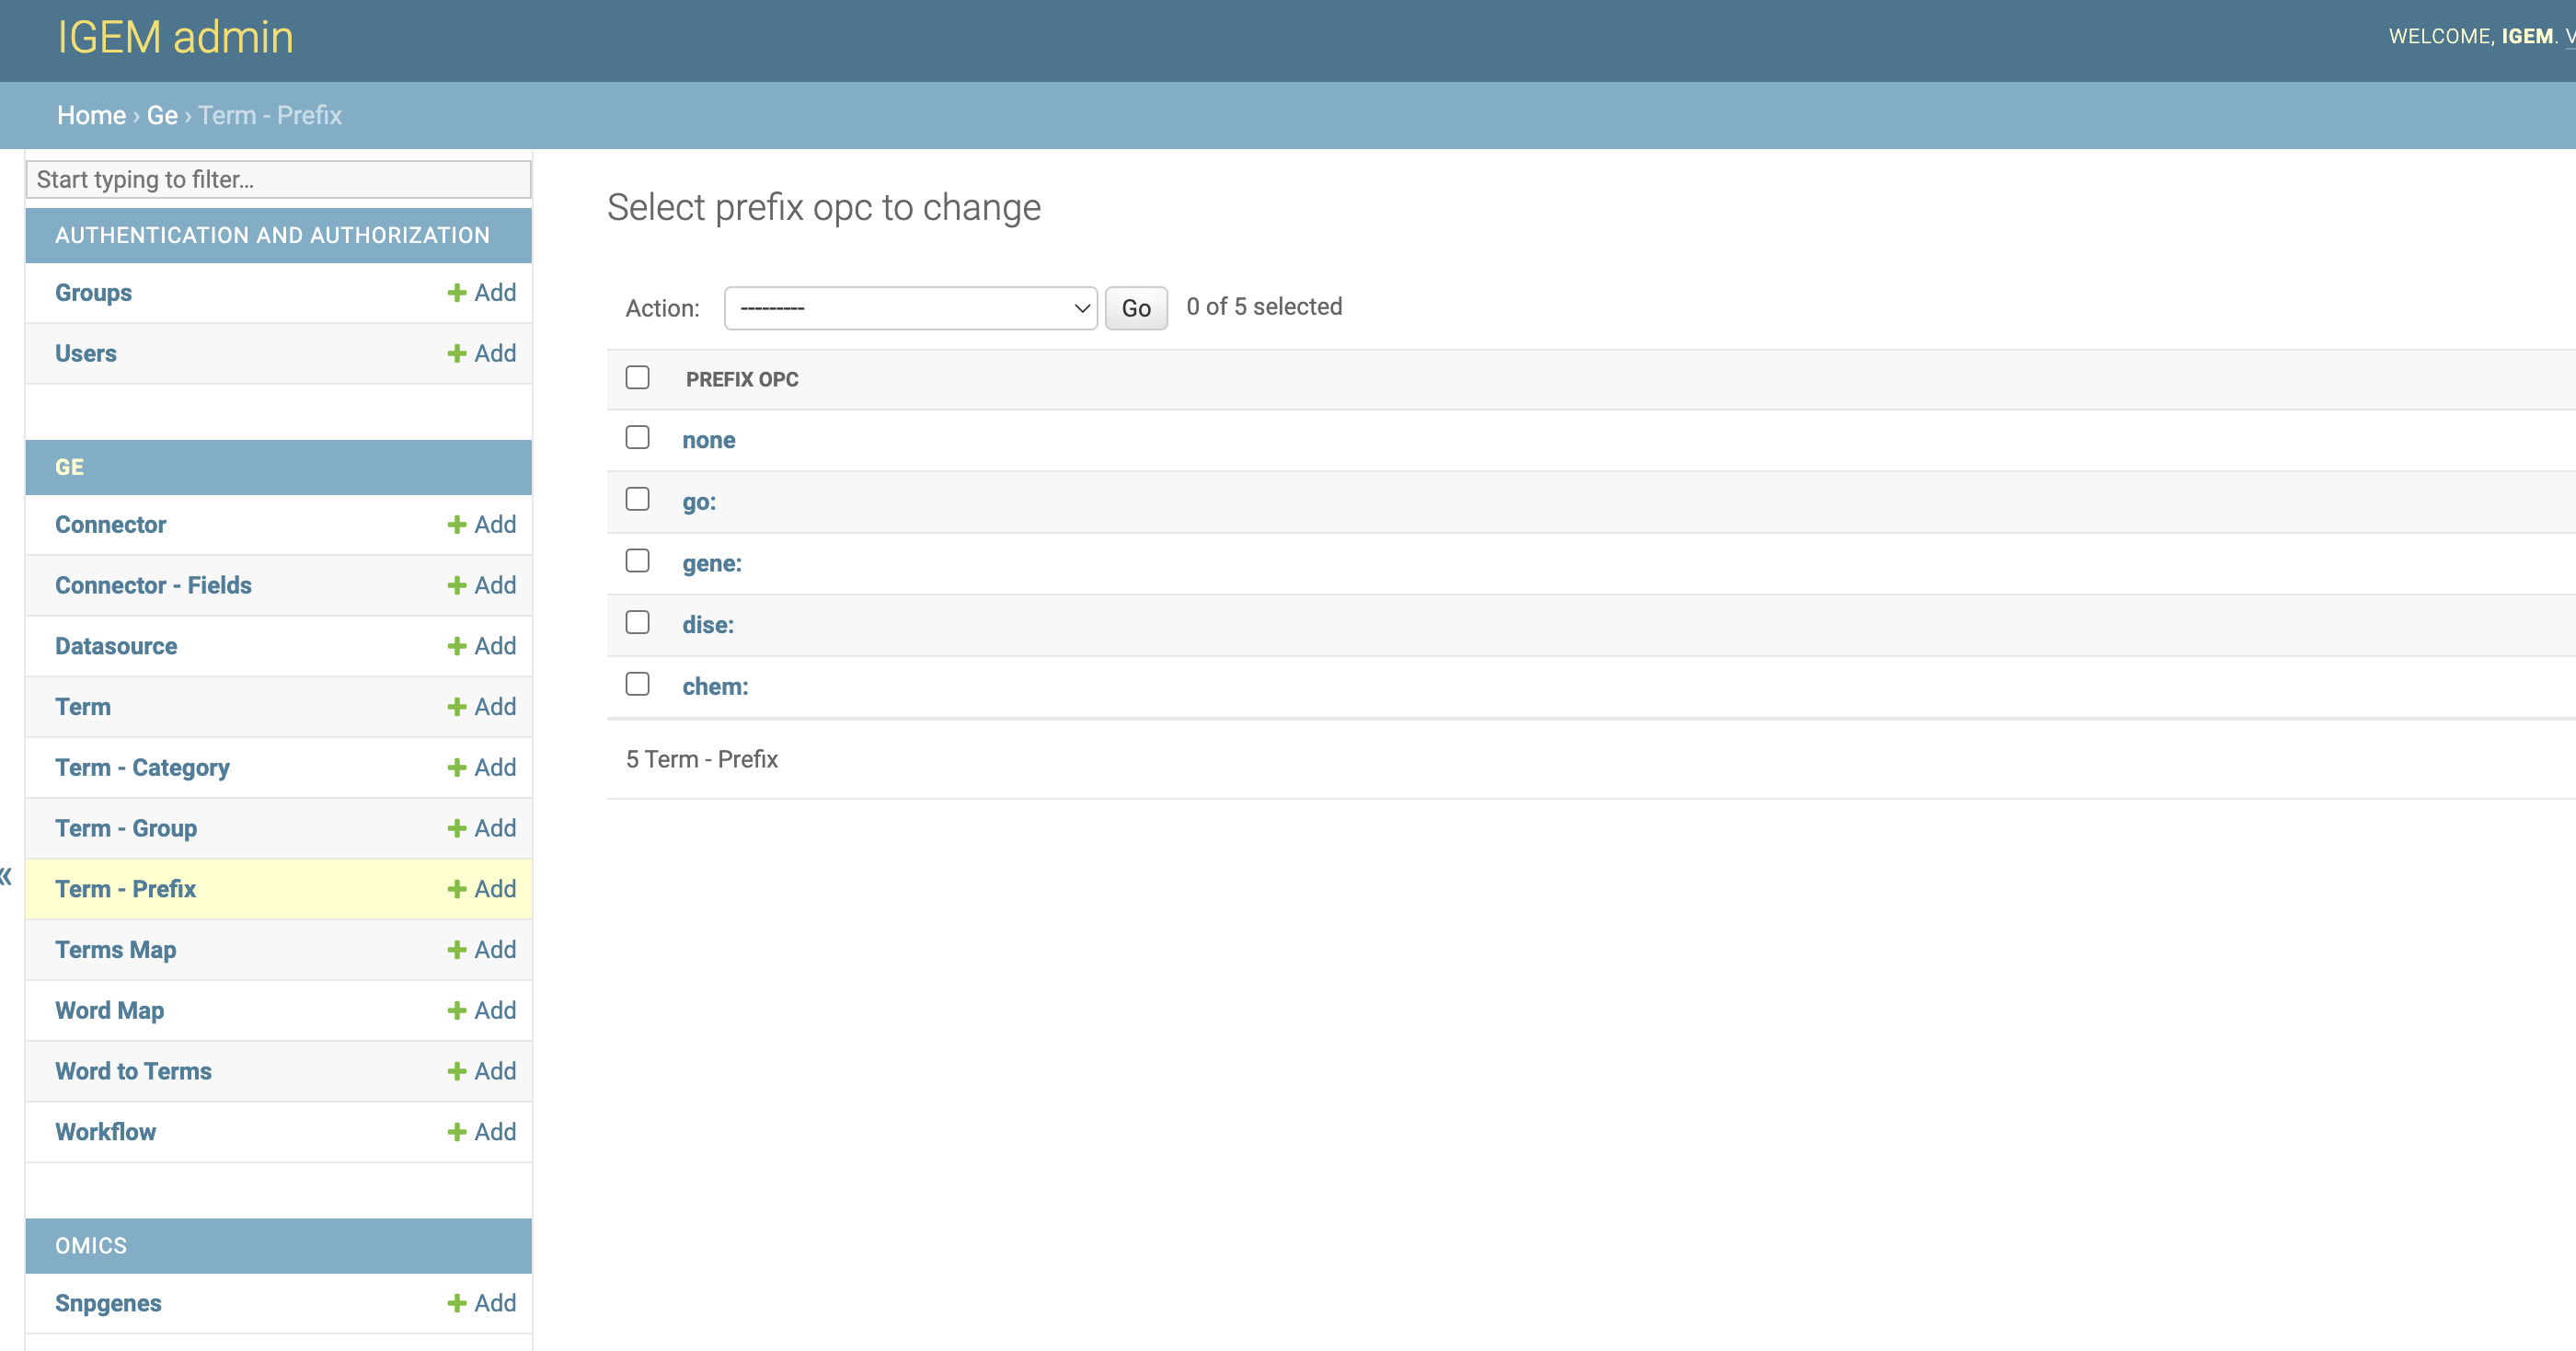
On the first screen, we have a view of all available Prefix. To consult, click a desired Prefix.

- On the next screen, we have all the Prefix fields open for modifications. To modify, change the desired information and select one of the three button options:
Save and add another: Will save the changes and open a blank Prefix screen to add a new Prefix record.Save and Continue editing: Will save the changes and continue on the Prefix screen.Save: Will save the changes and return to the screen with the list of Prefix.
In the History button, we can consult all the modifications carried out in the Prefix, this function will be important to track modifications and audit the process.
The DELETE button will permanently delete the Prefix record.
Caution: when deleting a Prefix, the system will also delete all records dependent on that Prefix, which include Connector Columns Rules
Deletion can also be performed en bloc. On the Prefix List screen, select all the Prefix you want to delete, choose the Delete Selected Keyge - Prefix action and click on the GO button.
Be careful, this elimination operation will be definitive for the Prefix and for all other records dependent on it, as already explained.
- To add new Prefix, we will have three different ways:
by the
+ Addbutton on the left sidebar.Through the
ADD Prefix OPC +button in the right field of the Prefix list.Via the
Save and add anotherbutton located within a Prefix record.