Install
IGEM is available on PyPl or through GitHub. It can be installed in a virtual environment with Python >= 3.9. Run via the command line:
$ pip install igem
Database Customization
IGEM accepts several types of software to manage the database, including MS SQL, MySQL, Postgres, and others. By default, the system is already configured with SQLite.
To change the database manager, open the {package_path}/igem/src/settings.py file and change the DATABASES parameters. The example below demonstrates a configuration using a Postgres database:
DATABASES = {
  "default": {
      "ENGINE": "django.db.backends.postgresql_psycopg2",
      "NAME": "IGEM",
      "USER": "postgres",
      "PASSWORD": "your_password",
      "HOST": "127.0.0.1",
      "PORT": "5432",
  }
}
IMPORTANT: Changing the database is optional as the system is configured by default to create a local SQLite database.
If you want to use a database created on another computer/server, edit the base path, for example, an SQLLITE base:
DATABASES = {
    "default": {
        "ENGINE": "django.db.backends.sqlite3",
        "NAME": {path} / "db.sqlite3",
    }
}
We created a python script to create the database, make the first admin user, and load the initial master data. If you want to start the database using this script, download the file:
_file path
Unzip and run the deploy_db.py script in the environment with IGEM.
The other way to create the database, access the IGEM folder and run the following:
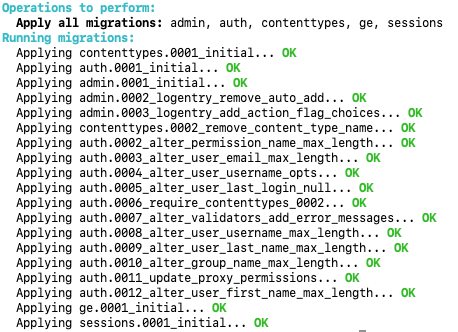
$ python manage.py makemigrations
IGEM will copy all the tables and other metadata in the configured Database format.

The next command to create the database with all the IGEM metadata:
$ python manage.py migrate
At this point, we already have IGEM installed and the database created with the IGEM structure. To check if the system is working correctly, type:
$ Python manage.py check

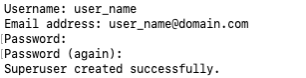
The IGEM system has a layer of security per user and functions. To create the first user, run:
$ python manage.py createsuperuser
Enter your username, email, and security password.
The system will be ready to parameterize the master data, perform external data load and generate reports.
Web Interface
The IGEM system has a web interface for performing activities such as master data registration and simple queries in the database.
To start the WEB service, type:
$ python manage.py runserver
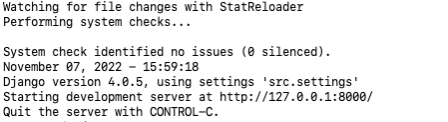
In a browser, go to http://127.0.0.1:8000/admin.
The IGEM system will show the authentication page.
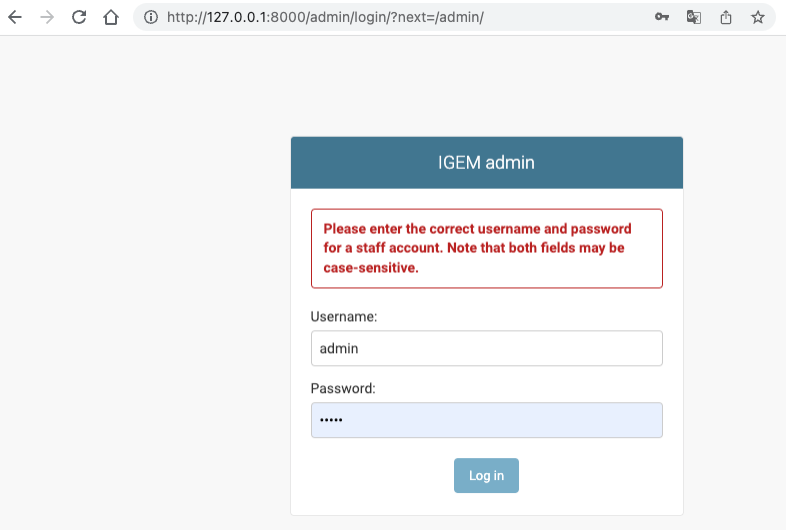
Enter the username and password created in the previous steps. The administration page will be loaded after authentication.
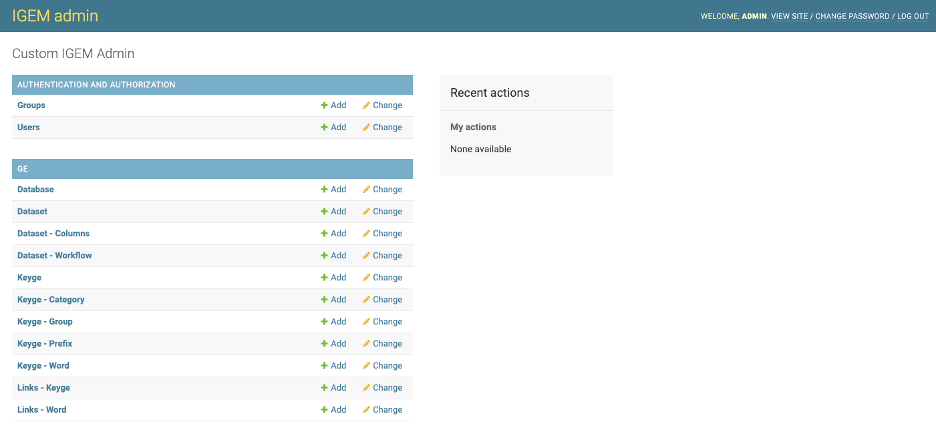
The features of this interface will be explored in detail in Master Data and Access and Permissions.
File structure:
- Inside the src directory, we will have:
/ge/: all source codes and interfaces for the functioning of APP GE.
/loader/: all input files for loading master data and output directory of the FILTER process.
/psa/: Persist Store Area to store the database files downloaded and processed by the ETL process. Each DATASET will have its subfolder within the PSA.
/src/: hosts the source code of IGEM components, configurations and parameterizations.
/templates/: hosts the standard web interfaces in IGEM.
PSA - Store Area Persists
The PSA is a folder that stores the Dataset files loaded in their original format and transformed during the ETL process. Each Database will be a subfolder, and each Dataset a subfolder concerning the Database. These structures will be created automatically, and if deleted, they will be created again on the following workflow run for the corresponding dataset. Each external Dataset source will be a design solution for the original uploaded file. If you want to keep this file for queries and analyses, configure it in the Dataset register to keep the original file. Important that this file will be kept unzipped. To reduce the amount of system space, it is not recommended to keep these files. The subfolder will also have a transformed version normalized by the rules of the applied dataset.